Thank heavens strawberry season has arrived here on the Gulf Coast, because this is the horror I woke up to this morning:
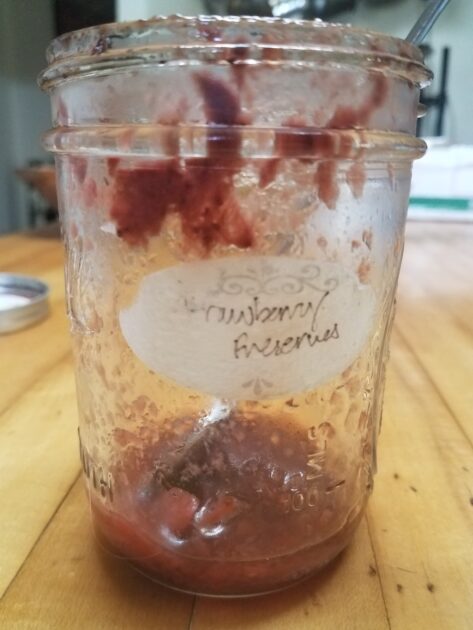
What you’re seeing is–at most–ONE English muffin’s worth of homemade strawberry preserves.
Until a few years ago I was just fine with grocery store strawberry preserves. I liked them, and I really didn’t notice much difference between brands. Honestly, I usually chose one kind over another based on whether or not I wanted the jar it came in. Then came the year I had TOO MANY FRESH STRAWBERRIES. It’s been a while, and I can’t recall the exact circumstances, but the sight of an entire flat of very nearly over-ripe strawberries in my kitchen was alarming, but, wow–they smelled like heaven.
Obviously I didn’t have a lot of time. I know I went hunting for strawberry jam recipes and found this easy, old-fashioned, recipe for strawberry preserves that didn’t require added pectin. I didn’t have pectin on hand, but I did have everything else for the recipe. So, ding, ding, ding!!! We had a winner! I thought I was phoning it in, but it turns out we absolutely adored the resulting strawberry preserves, and we now require a steady supply all year long.
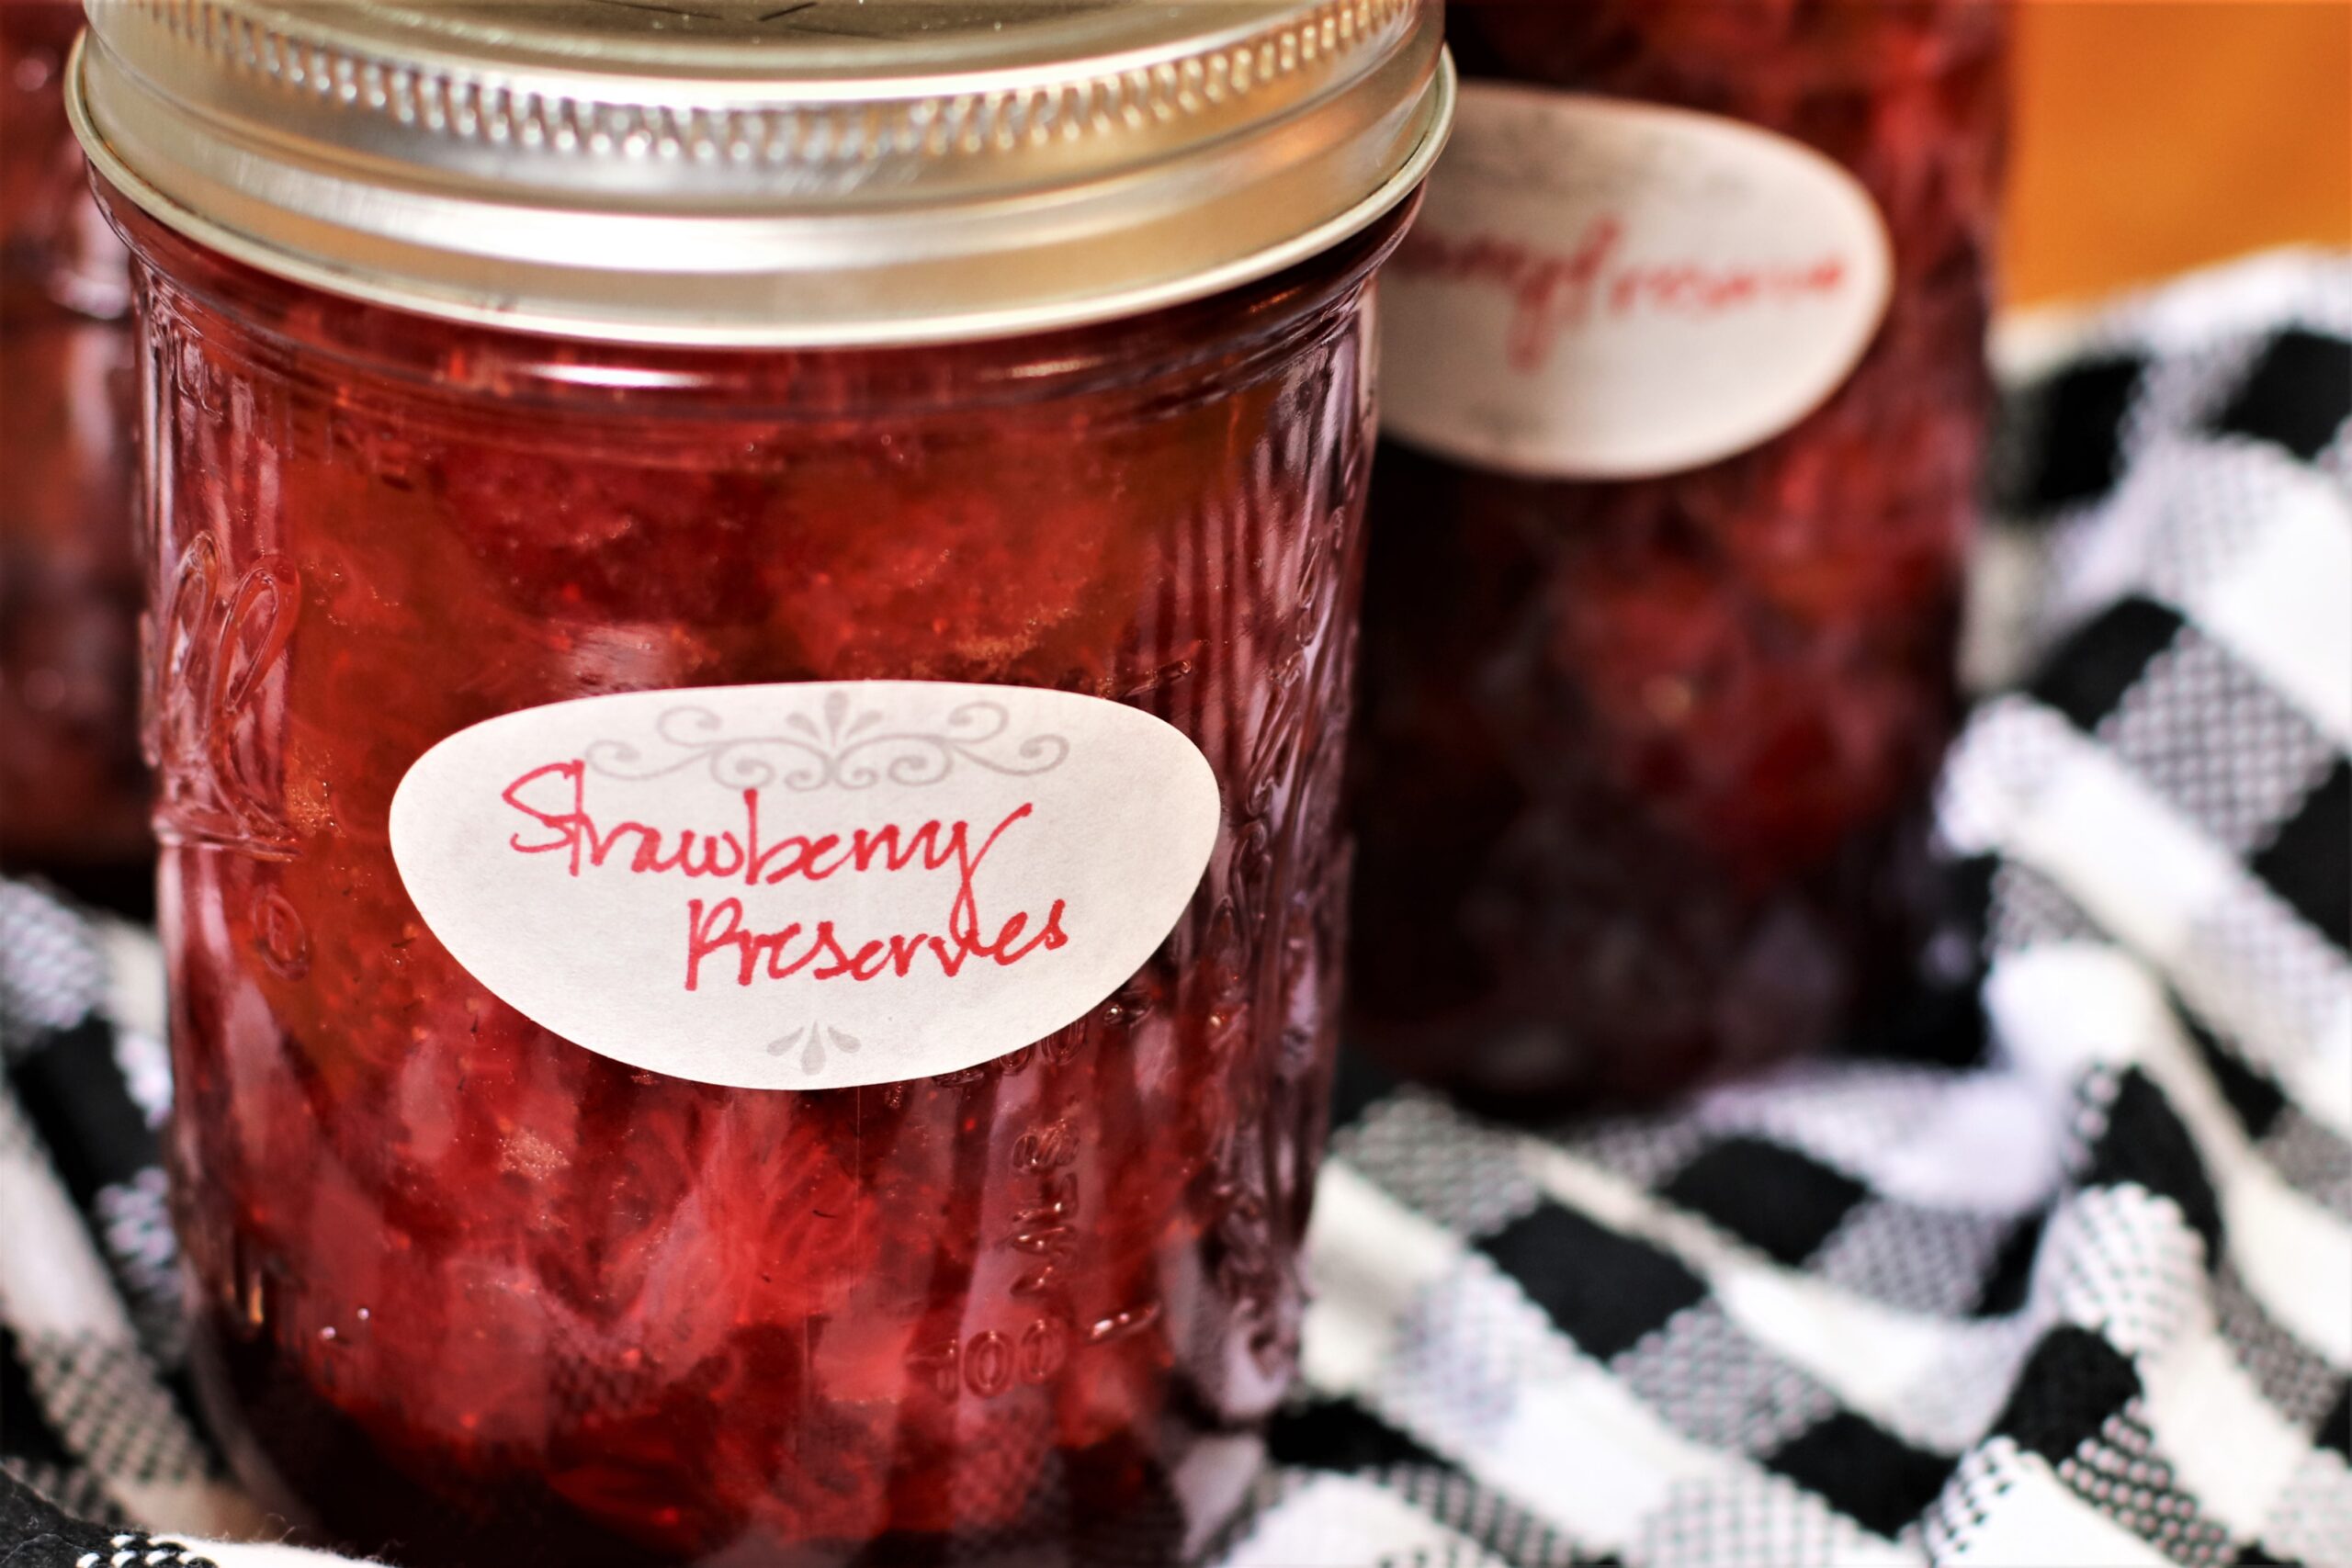
You need to know that this is not jam. It doesn’t spread like jam or jelly. It’s more of a loose mashed fruit situation, suspended in a gorgeous, thick, ruby-colored, strawberry syrup. The lemon in the recipe adds a freshness you don’t get from Smuckers. (It’s also the source of pectin in the recipe.) We spoon these preserves over biscuits, pancakes, waffles, toast, yogurt, scones, French toast, cottage cheese, English muffins, plain crepes, ricotta-filled crepes, chocolate crepes, warm brie, cheesecake, pound cake, chocolate pound cake, or angel food cake. We also like it with a Monte Cristo sandwich. And speaking of sandwiches, you can put it on a peanut butter and jelly sandwich if you must. It will taste absolutely divine, but it will also drip all down the front of your shirt. (So, yeah. You’re going to want to eat that PB&J leaning over the sink like I do.)
This is a surefire gateway recipe to making all kinds of preserves. It’s easy, it doesn’t make a huge mess, and it doesn’t take all day. Once the cooking part is over you can simply refrigerate the strawberry preserves if you’ll use them in a couple of weeks, or you can freeze them for longer storage. I process them in a water bath so they’re shelf-stable for ages, but even that’s incredibly easy, and you don’t need actual canning equipment except canning jars and lids, plus your big pasta pot. (The instructions for the water bath are in the recipe notes below.) In any case, once you’re done preserving strawberries, you’ll be hooked.
Here are a few general things you may need to know to ensure strawberry preserve nirvana:
Don’t double the recipe. Make separate batches instead. This is true for jams, jellies, and fruit preserves in general. Doubling won’t give you the same results. The reason has to do with volume/sugar/temperature/time/quantum physics. Speaking from experience, save yourself a lot of grief and don’t try to outsmart the recipe. Luckily, these preserves are easy enough and require a small enough pot that even I could manage two batches simultaneously. They’re also fast enough that making one batch after another doesn’t have you chained to the stove for hours at a time.
Do use a candy thermometer. Candy thermometers are only a couple of dollars at the grocery store, and they take the guesswork out.
Do look up how to adjust for temperature if you live at altitude. Boiling points, and therefore gelling points, are different in the mountains. As a rule, unless a recipe tells you otherwise, temperatures given are for sea level, more or less.
Don’t try to cut back on the sugar in this recipe. Sugar is not only a sweetener, but a preservative and gelling agent in jams, jellies, and fruit preserves, and this one is relatively low in sugar already. That’s part of why it doesn’t form a firm product.
Do measure the fruit after hulling and slicing, not before.
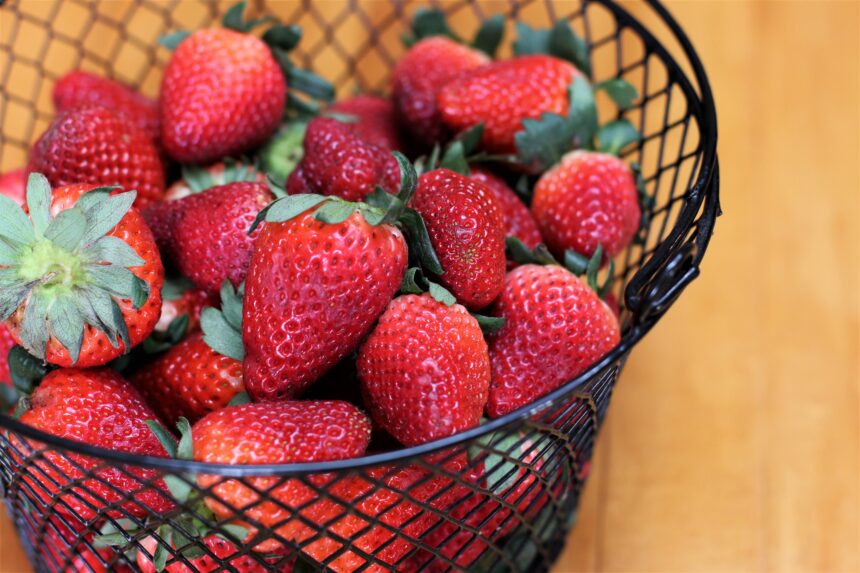
Do aim to use unblemished ripe strawberries for preserves. Certainly nothing moldy, slimy, or discolored–throw those away. But a couple of underripe strawberries here or there are fine. In fact, underripe fruits have more natural pectin–which is a bonus–but they also don’t taste so nice. So don’t overdo it.
In any canning recipe, do leave the called-for headspace. Look at a ruler and you can eyeball it after that.
Two batches of this recipe gave me 6 half pints that I processed in a water bath, plus a not-quite half pint that I put in the fridge. So a single batch should give you 3 half pints plus enough for a big piece of toast.
Happy eating!
Tiny Batch Strawberry Preserves
Ingredients
- 1 quart hulled and sliced strawberries (measure after hulling and slicing)
- 3/4 cup sugar
- 2 T. lemon juice (bottled juice is okay)
- 3 half pint canning jars with rings and new lids (if canning)
Instructions
- Put the berries, sugar, and lemon juice in a heavy-bottomed saucepan.
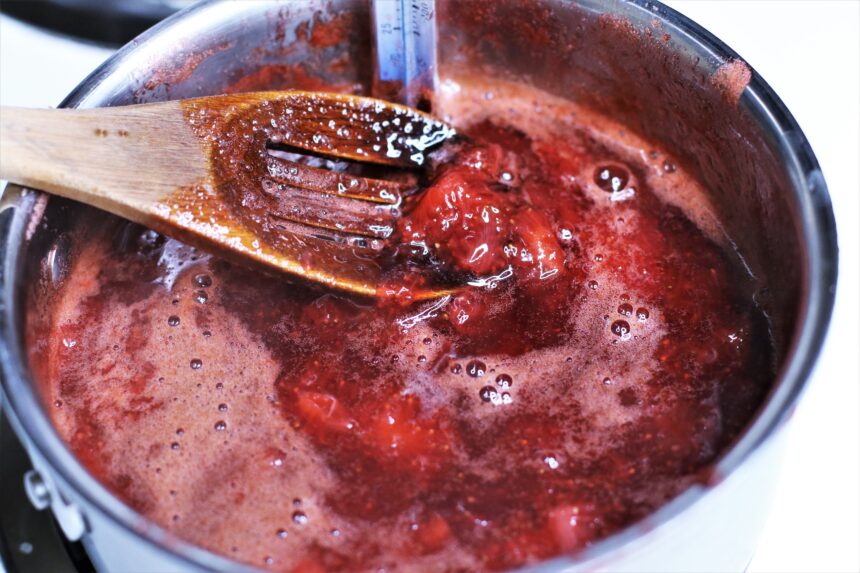
- Cook over medium low heat until the sugar is dissolved and the the strawberries have released some of their juice.
- Turn the heat to medium high and cook, stirring and mashing the berries occasionally until the temperature registers 220° on a candy thermometer. For refrigerating or freezing, you may stop here, cool the preserves, and transfer to and appropriate storage container. If canning for pantry storage, see canning instructions in the notes below.


Can’t wait to get flat of Baldwin County Strawberries and make a batch… or two 🍓
McKenzie’s has them!