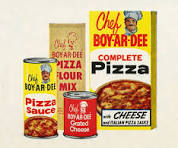
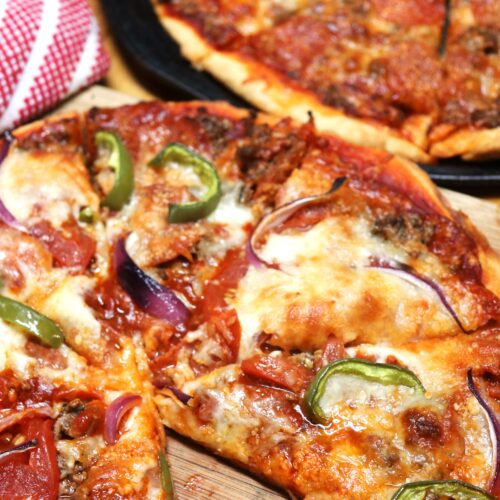
That’s an oldfangled photo, of course. Still, several people piped up to say they used to love these pizza kits when they were kids. I can go one better. I still sometimes use the traditional version to make homemade pizza. Yes, it’s retro, but it’s delicious, and we love it. A few people asked me to elaborate, and I’m happy to share! After all, this is a great excuse to put (Almost) Homemade Pizza on this week’s menu.
Just so you know, the Chef Boyardee pizza kit currently looks like this:
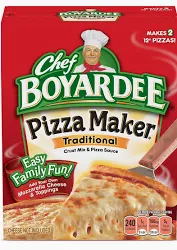
I know how to make yeasted pizza dough, and I can make a good one, but sometimes that takes more time than I have. I also know I can buy ready-to-bake pizza dough at the grocery store. We prefer a thin-crust pizza generally, and I like the sauce that comes in the pizza kit box. Sometimes we go out for pizza or order delivery of course, but this “homemade” version is still the family favorite. I use the boxed ingredients as a base–just like my mom used to–and customize the pizza from there.
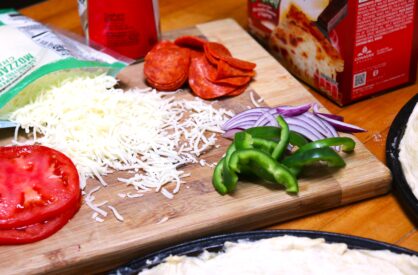
The kit makes two 12” pizzas. I mostly follow the instructions on the box. They want you to use non-stick pizza pans. I lightly grease my pizza pans with vegetable shortening anyway, even though the my pizza pans are technically non-stick. I’ve tried both cooking spray and oil instead of shortening, but then the crust won’t spread out on the pan properly. The shortening provides a little more “grab” for stretching the dough, and helps the crust set up a little more firmly on the bottom.
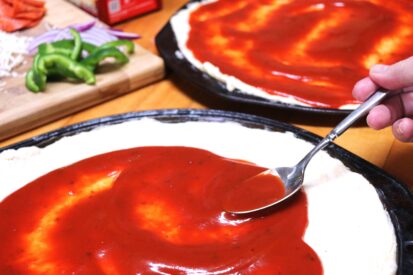
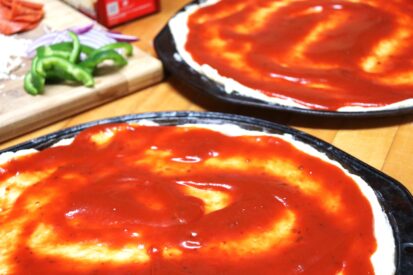
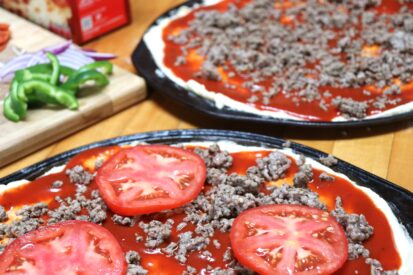
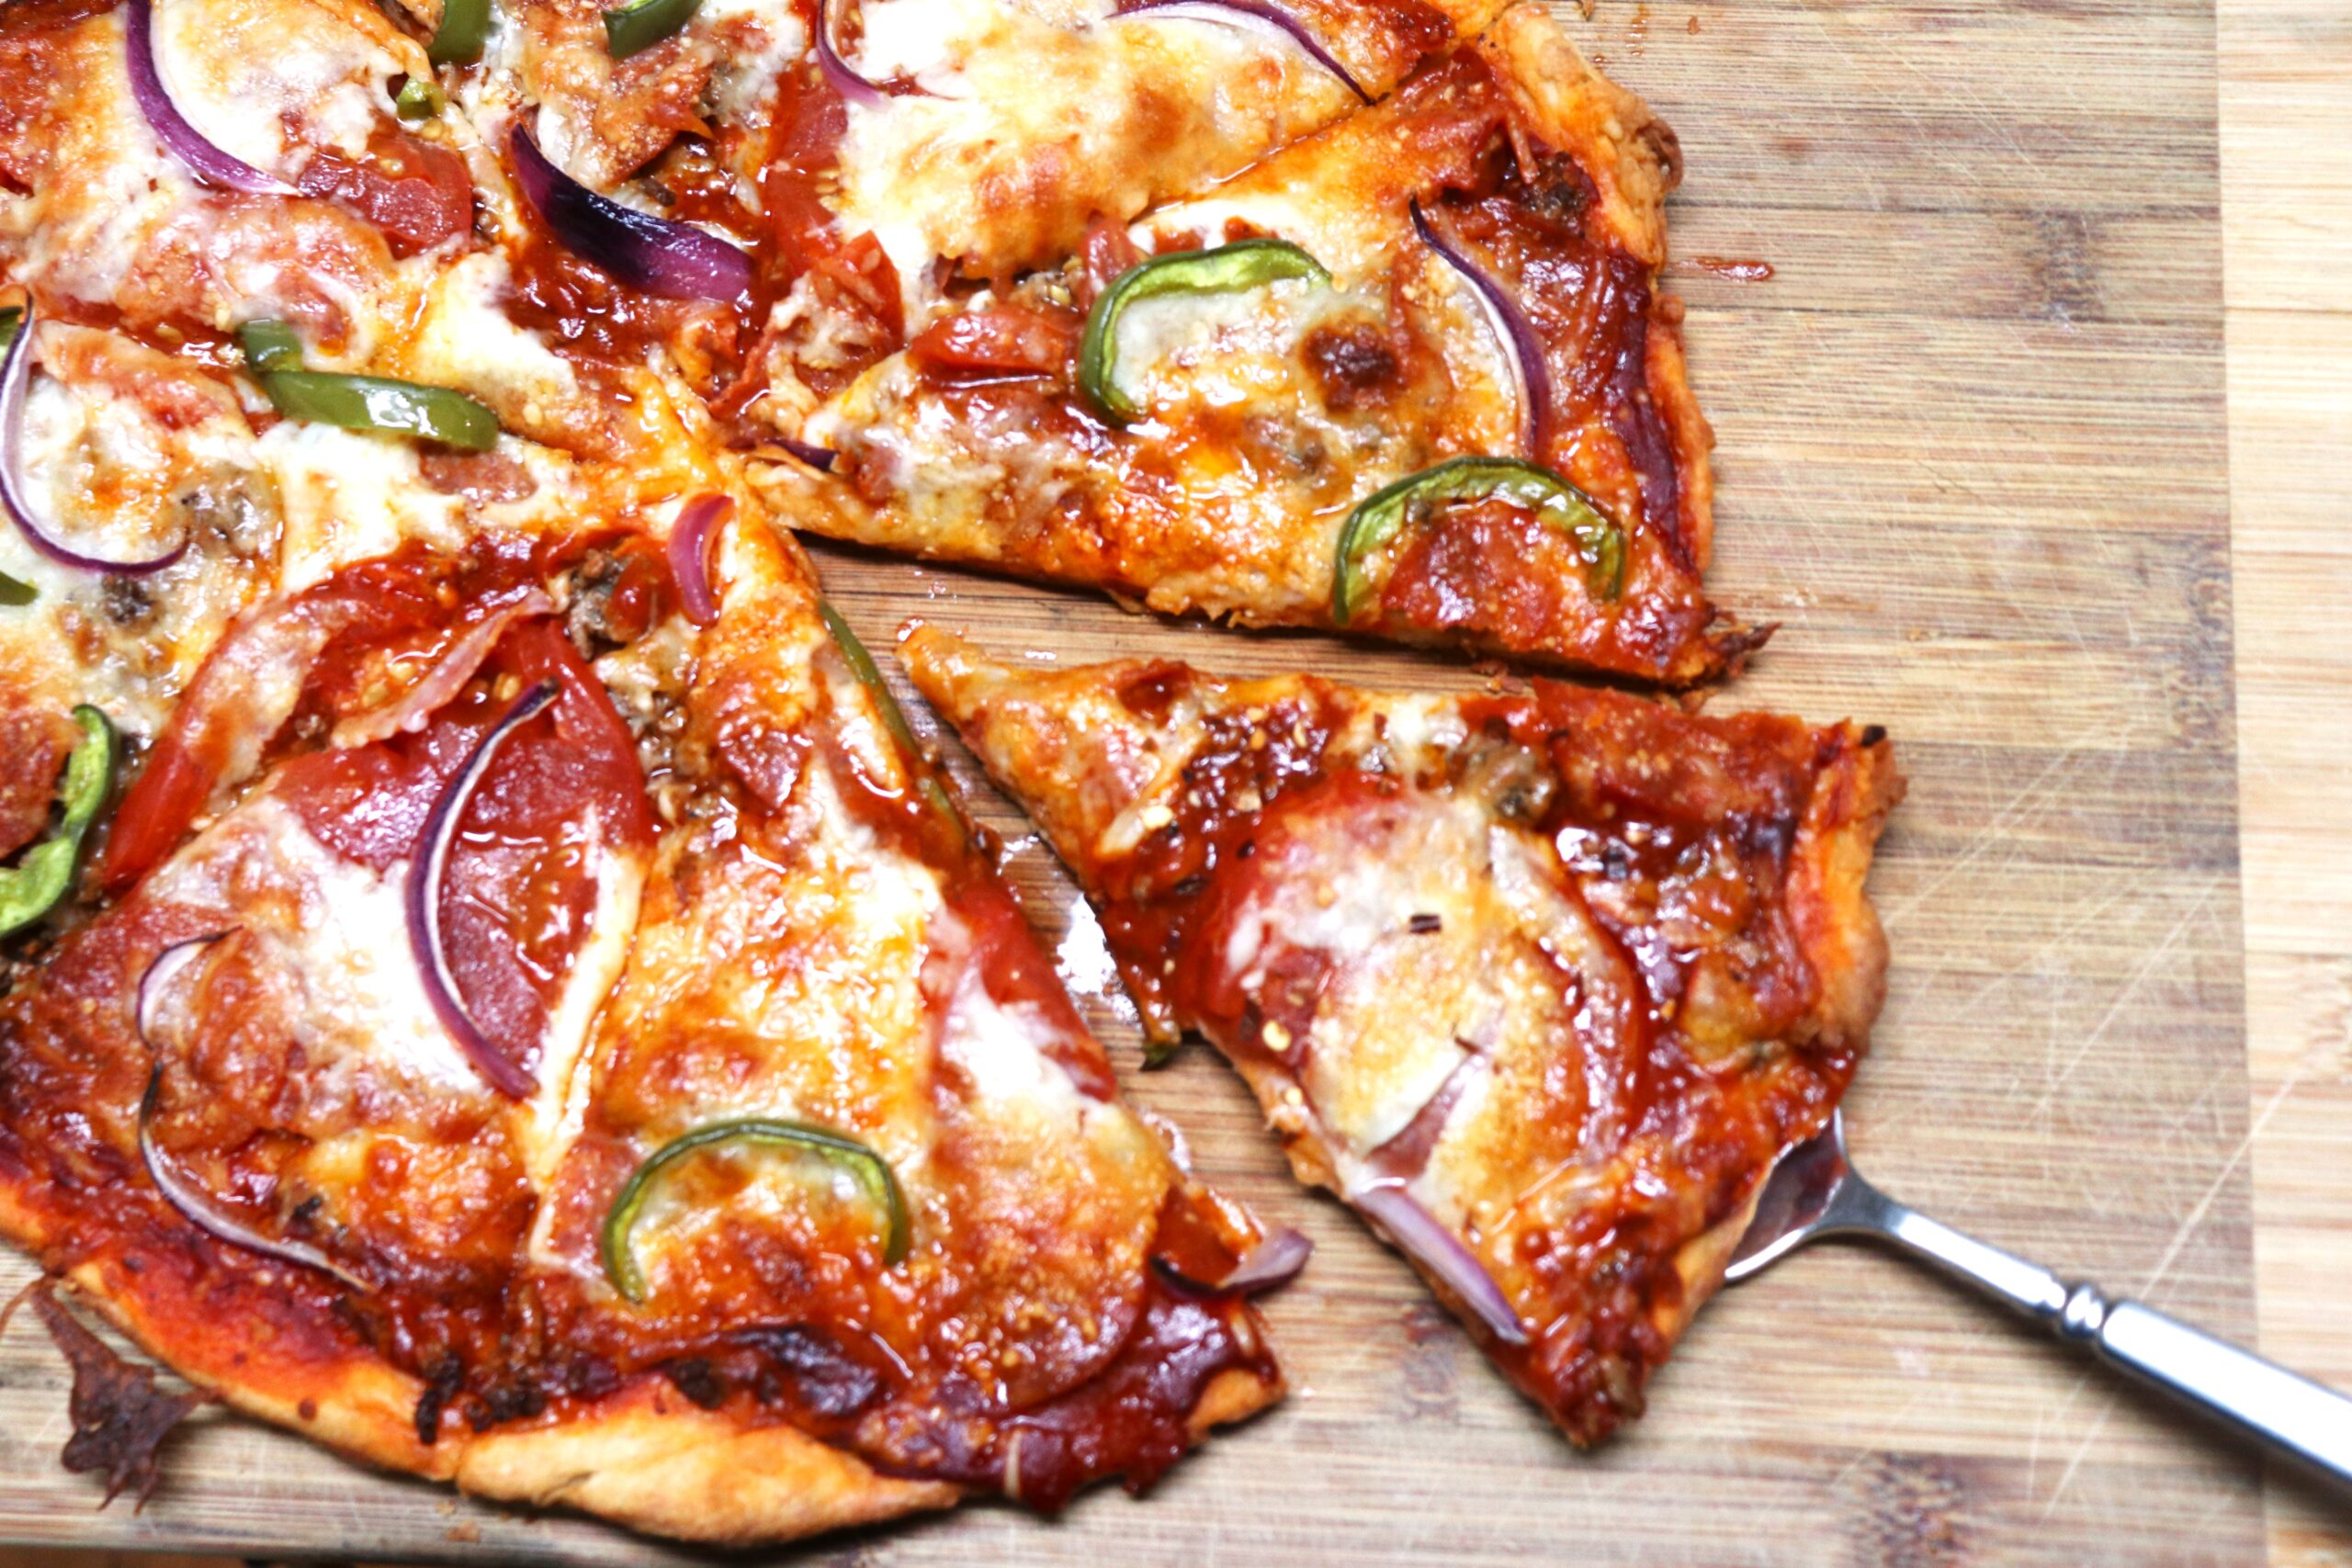
I top the dough with the sauce and then pile on all sorts of things. At least one of the pizzas has seasoned ground beef on top of the sauce. At least one pizza is always veggie-heavy with tomato, onion, pepper, and sometimes mushrooms and black olives, too. There’s always plenty of mozzarella. Sometimes one pizza is just beef, pepperoni, and cheese. In any case, we always add parmesan on top before baking. Note that parmesan used to be included in the pizza kit, but now the box comes with only crust mix and sauce–no cheese at all. So if you want parmesan, you’ll have to add it. While you’re at it, go ahead and add anything and everything you’d like.
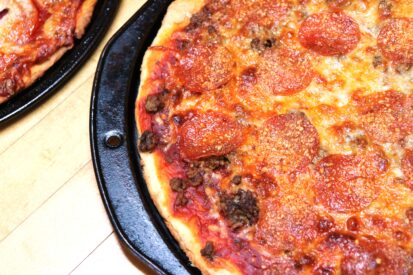
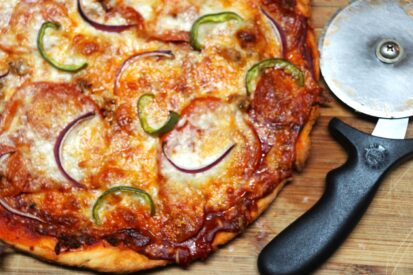
Finally, I saw a few snarky comments on the Internet about this pizza kit being “super unhealthy”, so I checked the label. The only ingredients that might give someone any kind of pause at all were sodium aluminum phosphate and high fructose corn syrup. Sodium aluminum phosphate is an acidifier for baked goods, and helps to ensure proper texture. It’s GRAS (Generally Recognized As Safe) both here and in Europe where they’re much pickier than we are in the U.S. Sodium aluminum phosphate is simply the pro version of baking powder, and it’s way down the ingredient list. High fructose corn syrup is something that I do try to avoid, mostly. But there’s less high fructose corn syrup in these two pizzas combined than you would get in a single bowl of lightly sweetened breakfast cereal. Even I have a hard time getting bent out of shape over that.
Fun fact: Chef Boyardee was a real person. Italian-American Ettore Boiardi was the head chef at the Plaza Hotel in NYC until 1924 when he opened a restaurant, Il Giardino d’Italia, in Cleveland, Ohio. Customers immediately began asking to buy his spaghetti sauce, and he initially offered it for sale in milk bottles. In 1928 Boiardi anglicized his name to the phonetic “Boyardee” and opened a factory that made packaged Italian-American almost ready-to-eat foods. The rest in history.
Ciao!
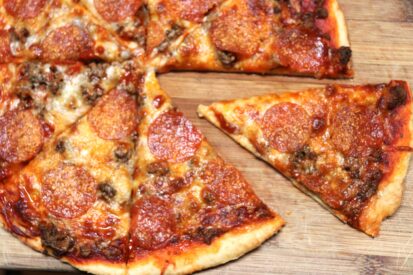
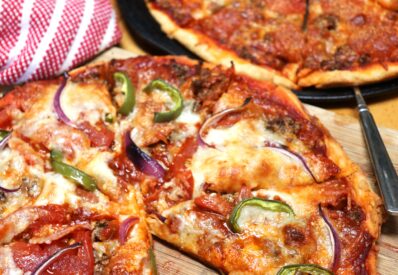
(Almost) Homemade Pizza
Equipment
- 2 12" round pizza pans
Ingredients
- 1 31.85 oz. box Chef Boyardee Pizza Maker® kit
- shortening for greasing pans
- 1 T. olive oil
- 8 oz. shredded mozzarella cheese
- Your preferred toppings, for example: pepperoni, ground beef, Italian sausage, ham, bacon, tomato, onion, bell pepper, mushrooms, black olives, spinach, artichoke hearts, ricotta, grated parmesan, etc. . .
Instructions
- Preheat the oven to 425°. Grease the two pizza pans.
- Prepare the crust according to package directions. Drizzle olive oil over the dough, turning over to cover completely. Allow to sit for 5 minutes.
- Divide the dough in half--one half for each of the pizza pans. Using a flat hand--and without tearing the dough--carefully spread/stretch the dough evenly to the edges of the pans. Top each pizza with 1/2 the can of sauce, spreading it evenly with the back of a spoon. Add your preferred toppings.
- Put pizzas in the preheated oven, one on the top rack and one on the bottom rack. After 10 minutes switch them. Continue to bake for 8-10 minutes or until the crust is browned, and the cheese is melted and browning in spots. Let pizzas cool on the pans for 5 to 10 minutes before cutting.
![]()




0 Comments